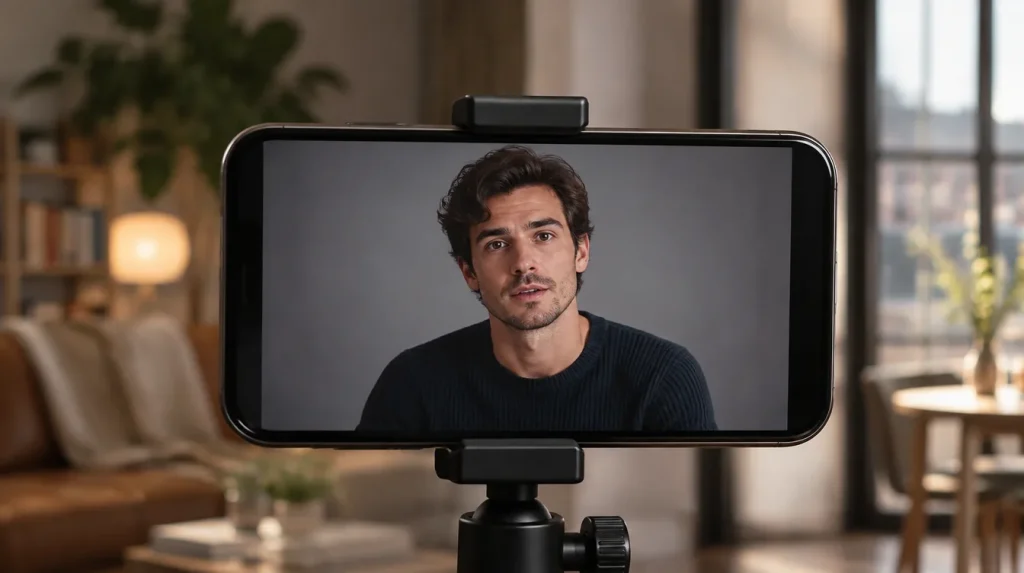
Self tape framing decides what casting sees first. When the frame is clean, the eye goes straight to your face and your choices. When it is off, people notice the room, the ceiling or the top of your head instead. The good news is that framing is the easiest part of a self tape to get right, and it costs nothing.
Start in Landscape
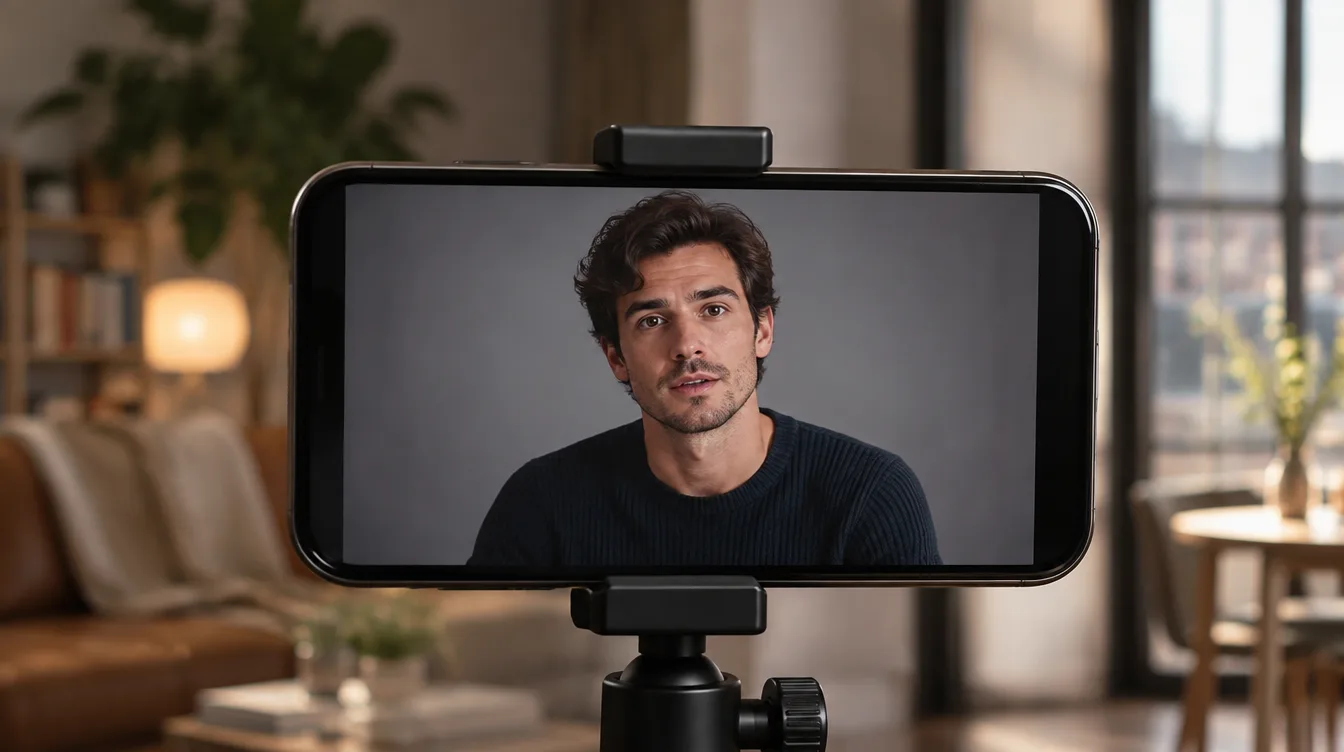
First, turn your phone sideways. Most casting platforms play tapes in a wide player, so a landscape frame fills the screen while a vertical one leaves black bars on both sides. Unless the casting notice asks for vertical video, landscape is the safe default.
The Shot Size That Works for Self Tape Framing
For most scenes, a medium close-up works best. In other words, frame from roughly the middle of your chest to just above your head. This is close enough to read your eyes and wide enough to catch small gestures. However, always follow the instructions. Some notices ask for a wider shot, a full-body slate or a specific crop, and those requests come first.
- Medium close-up: chest to just above the head. The default for most dialogue scenes.
- Wider shot: waist up, when the scene has movement or physical business.
- Full body: usually only for the slate, and only when it is requested.
Headroom: Leave a Little, Not a Lot
Headroom is the space between the top of your head and the top of the frame. Too much makes you look small in the shot. On the other hand, none at all can feel cramped. A small gap usually reads best. As a quick check, your eyes should sit about a third of the way down the frame.
Eye Line: Just Off the Lens
Next, place your reader just to one side of the camera, close to the lens. That way, your eyes stay near the camera and casting can see them clearly. Avoid looking straight into the lens during the scene unless the notice asks for it, because that usually reads as talking to the viewer rather than to a scene partner. Also, keep your eye line on the same side for the whole scene so the tape feels consistent.
Camera Height and Distance
Set the camera at eye level. A camera that is too low points up your nose, and a camera that is too high makes you look down at the scene. A tripod makes this easy, and you can see the ones we recommend in our must-have self tape products guide. Then, stand far enough back that your framing does not change when you lean in or shift your weight.
Common Self Tape Framing Mistakes
- Shooting in vertical when nobody asked for it.
- Cutting off the top of the head, or leaving a large gap above it.
- Placing the reader far from the lens, so casting only sees your profile.
- Holding the phone by hand, which makes the shot shake.
- Letting a busy room fill the background instead of a plain wall or backdrop.
Do a Test Take First
Before you record the real takes, film ten seconds and watch it back on a bigger screen. Check the headroom, the eye line and the background. Fixing a frame takes one minute; in contrast, re-recording a whole scene takes much longer. Our how to self-tape guide walks through the full setup, and the Self-Tape Academy All-Access ($199, all three courses) covers framing, light and sound step by step. For union guidance, see SAG-AFTRA.
Building a brand around your work? Plopjoy builds websites, branding and apps for artists, influencers and brands.